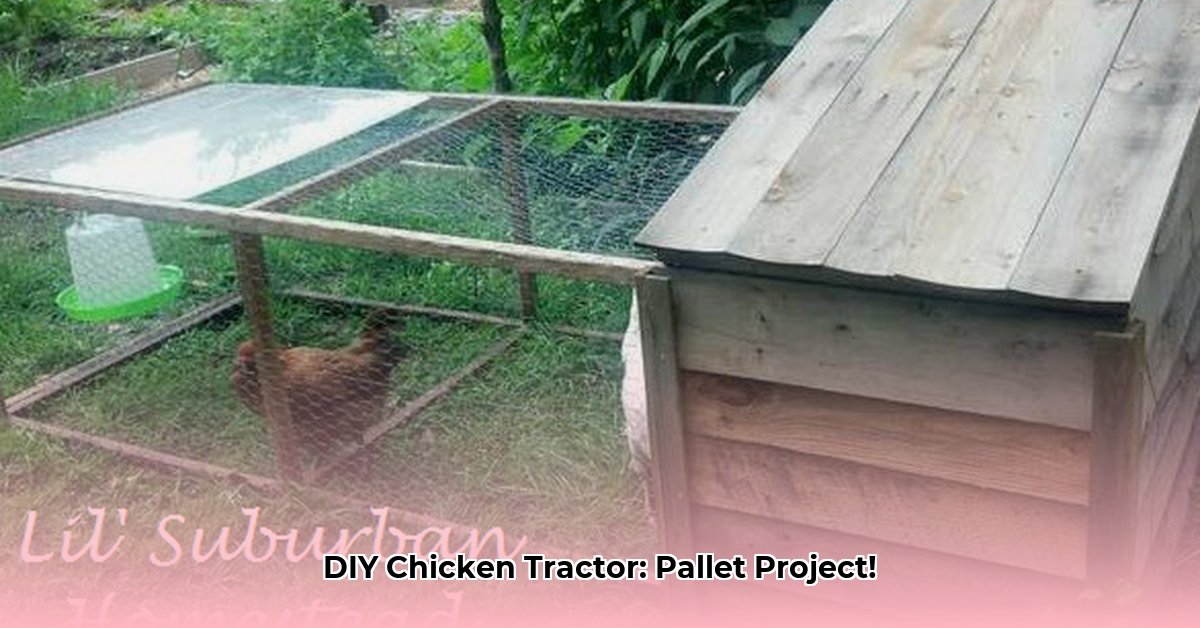
Building a chicken tractor from recycled pallets is a rewarding project that combines sustainable practices with the joy of raising backyard chickens. This guide provides a step-by-step approach, ensuring a safe, functional, and cost-effective coop for your flock. For more detailed plans, check out these DIY chicken tractor plans.
Planning & Preparation: Gathering Your Supplies and Assessing Needs
Before you begin construction, careful planning is crucial. First, determine the size of your tractor based on the number of chickens you plan to house. Remember, chickens need space to move around comfortably! A good rule of thumb is 4 square feet per chicken, but you should adjust based on your breed and local climate. Next, source your pallets. Look for heat-treated pallets stamped "HT," avoiding those marked "MB" (chemically treated). Inspect each pallet for rot or damage. Have you considered the climate? The design needs to withstand local weather conditions.
Materials Needed:
- Recycled pallets (HT-treated)
- Welded wire mesh (1/2" to 1" gauge, depending on local predators)
- Heavy-duty hinges and latches
- Screws and nails (consider using galvanized for exterior use)
- Wood for reinforcement (optional, but recommended)
- Wheels (for mobility)
- Chicken wire (for additional security)
- Bedding material (straw or wood shavings)
Tools:
- Saw
- Hammer
- Screwdriver/Drill
- Measuring tape
- Safety glasses
- Work gloves
Step-by-Step Construction: Building Your Chicken Tractor
This section details the construction process, ensuring a sturdy and safe structure for your chickens. Remember to prioritize safety throughout the construction process. Wear appropriate safety gear, such as safety glasses and gloves.
Step 1: Building the Base: Arrange your pallets to create a solid base. Secure them together using screws, ensuring a sturdy foundation. Add extra bracing with scrap wood if needed for enhanced stability. Consider pre-treating the wood (with a non-toxic sealant) to extend its lifespan. Did you know that a solid base is crucial for preventing predator access?
Step 2: Constructing the Walls: Attach additional pallets vertically to the base to form the walls. Secure them with screws. Leave an opening for a door. Attach the welded wire mesh to the interior of the walls, ensuring no gaps that could allow chickens to escape or predators to enter. This step significantly contributes to the overall security. Have you thought about adding extra layers of mesh for added protection?
Step 3: Creating the Roof: Use additional pallets or plywood to create a slanted roof to facilitate water runoff. This prevents water accumulation inside the tractor and keeps the chickens dry. Secure the roof firmly to the walls. Secure the roofing material to withstand strong winds common in your area.
Step 4: Installing the Door: Cut a door opening into one of the walls and reinforce it. Install hinges and a sturdy latch to keep the door securely closed. Ensure easy access for feeding and cleaning. A well-designed door is crucial for easy access during daily maintenance.
Step 5: Adding Wheels (Optional): Attach heavy-duty wheels to two sides of the tractor for easy mobility. This allows you to move the tractor to fresh pasture regularly. Many chicken keepers find this feature invaluable for rotational grazing.
Step 6: Final Touches: Sand down any rough edges to prevent injuries to the chickens. Add bedding material to the interior for comfort and to absorb droppings. Consider adding perches for roosting and a feeder/waterer.
Placement and Management: Rotational Grazing and Manure Management
Proper placement is crucial for the success of your chicken tractor. Choose a location with good drainage and minimal shade. Remember to avoid placing the tractor near water sources. Are you aware of the benefits of rotational grazing? Moving the tractor regularly allows for efficient pasture management, preventing overgrazing and promoting soil health. The chicken manure acts as a natural fertilizer, enriching the soil.
Advanced Considerations: Climate Control and Predator Mitigation
Depending on your climate, you may need to make adjustments. In hot climates, providing shade is crucial, while cold climates may require windbreaks or additional insulation. Predator proofing is paramount. Consider using hardware cloth (metal mesh) around the base of the structure and additional fencing around the perimeter. Remember, prevention is key, so regular inspections are essential.
Troubleshooting and Maintenance: Addressing Potential Issues
Regular inspection and maintenance are key to a comfortable chicken tractor.
- Structural Weaknesses: Regularly inspect the structure for loose screws, damaged wood, or weak points. Repair or reinforce as needed.
- Predator Issues: Check for any holes or gaps in the wire mesh, especially at the bottom and corners of the structure. Repair these immediately to prevent predator incursions.
- Escape Routes: Chickens are adept at finding escape routes! Ensure all gaps are closed and the wire mesh is securely attached.
- Weather Damage: Repair any damages caused by severe weather conditions promptly.
Conclusion: Reap the Rewards of Your Sustainable Chicken Tractor
Building a chicken tractor from recycled pallets offers numerous benefits, including cost savings, environmental friendliness, and improved soil health. By following these steps, you can create a haven for your chickens while enjoying fresh, farm-fresh eggs! Remember to share your experience and photos with fellow chicken keepers!